Keep in mind that this is just the raw lacquer, two coats so far, no clear coat, and I’ll probably do a third coat of color before I start clear coating. But, hey, it looks pretty good! I looked to honeyburst finishes from Ernie Ball and Gibson for color inspiration, and I found some pics of Warmoth bodies that had nice sunbursts too. I’m doing just the front in sunburst. The Brazilian mahogany back is getting an even, darker finish. My old Stratocaster has sunburst on both sides, but this guitar, like a PRS is a front-only sunburst.
I wanted to take advantage of the 1/2″ top (Driftwood 1 was only 1/4″), so I “carved” (or actually shaped with a sander) this top and I’m happy with the way it looks. I didn’t want to do the usual PRS or Gibson type of carve and instead opted for a “puffy” look. I’m going to explore this further in future guitar projects.
Unfortunately I lost about an 1/8″ of depth because I started cutting a control panel recess in the wrong place and had to hand plane the back until I erased the error. I had put it in a spot that interfered with the strings as they went through the body. I learned that one should always do the important stuff first, like drilling string-through holes, so you know exactly where you stand before you route anything else!
Since I took these photos I’ve cut a control panel cover out of aluminum. The last cover was from 1/8″ copper and really added to the weight of the guitar (Driftwood 1 is 9 pounds 2 ounces with 2 lbs of copper!). I don’t really like the way the aluminum looks but I’ll try to get used to it. I’ve also cut the holes for the switch and pots, and I’ve stained, sanded, and applied CA as a grain filler. I’ve given the guitar one sealer coat. I’m hoping to do a sunburst finish… We’ll see!
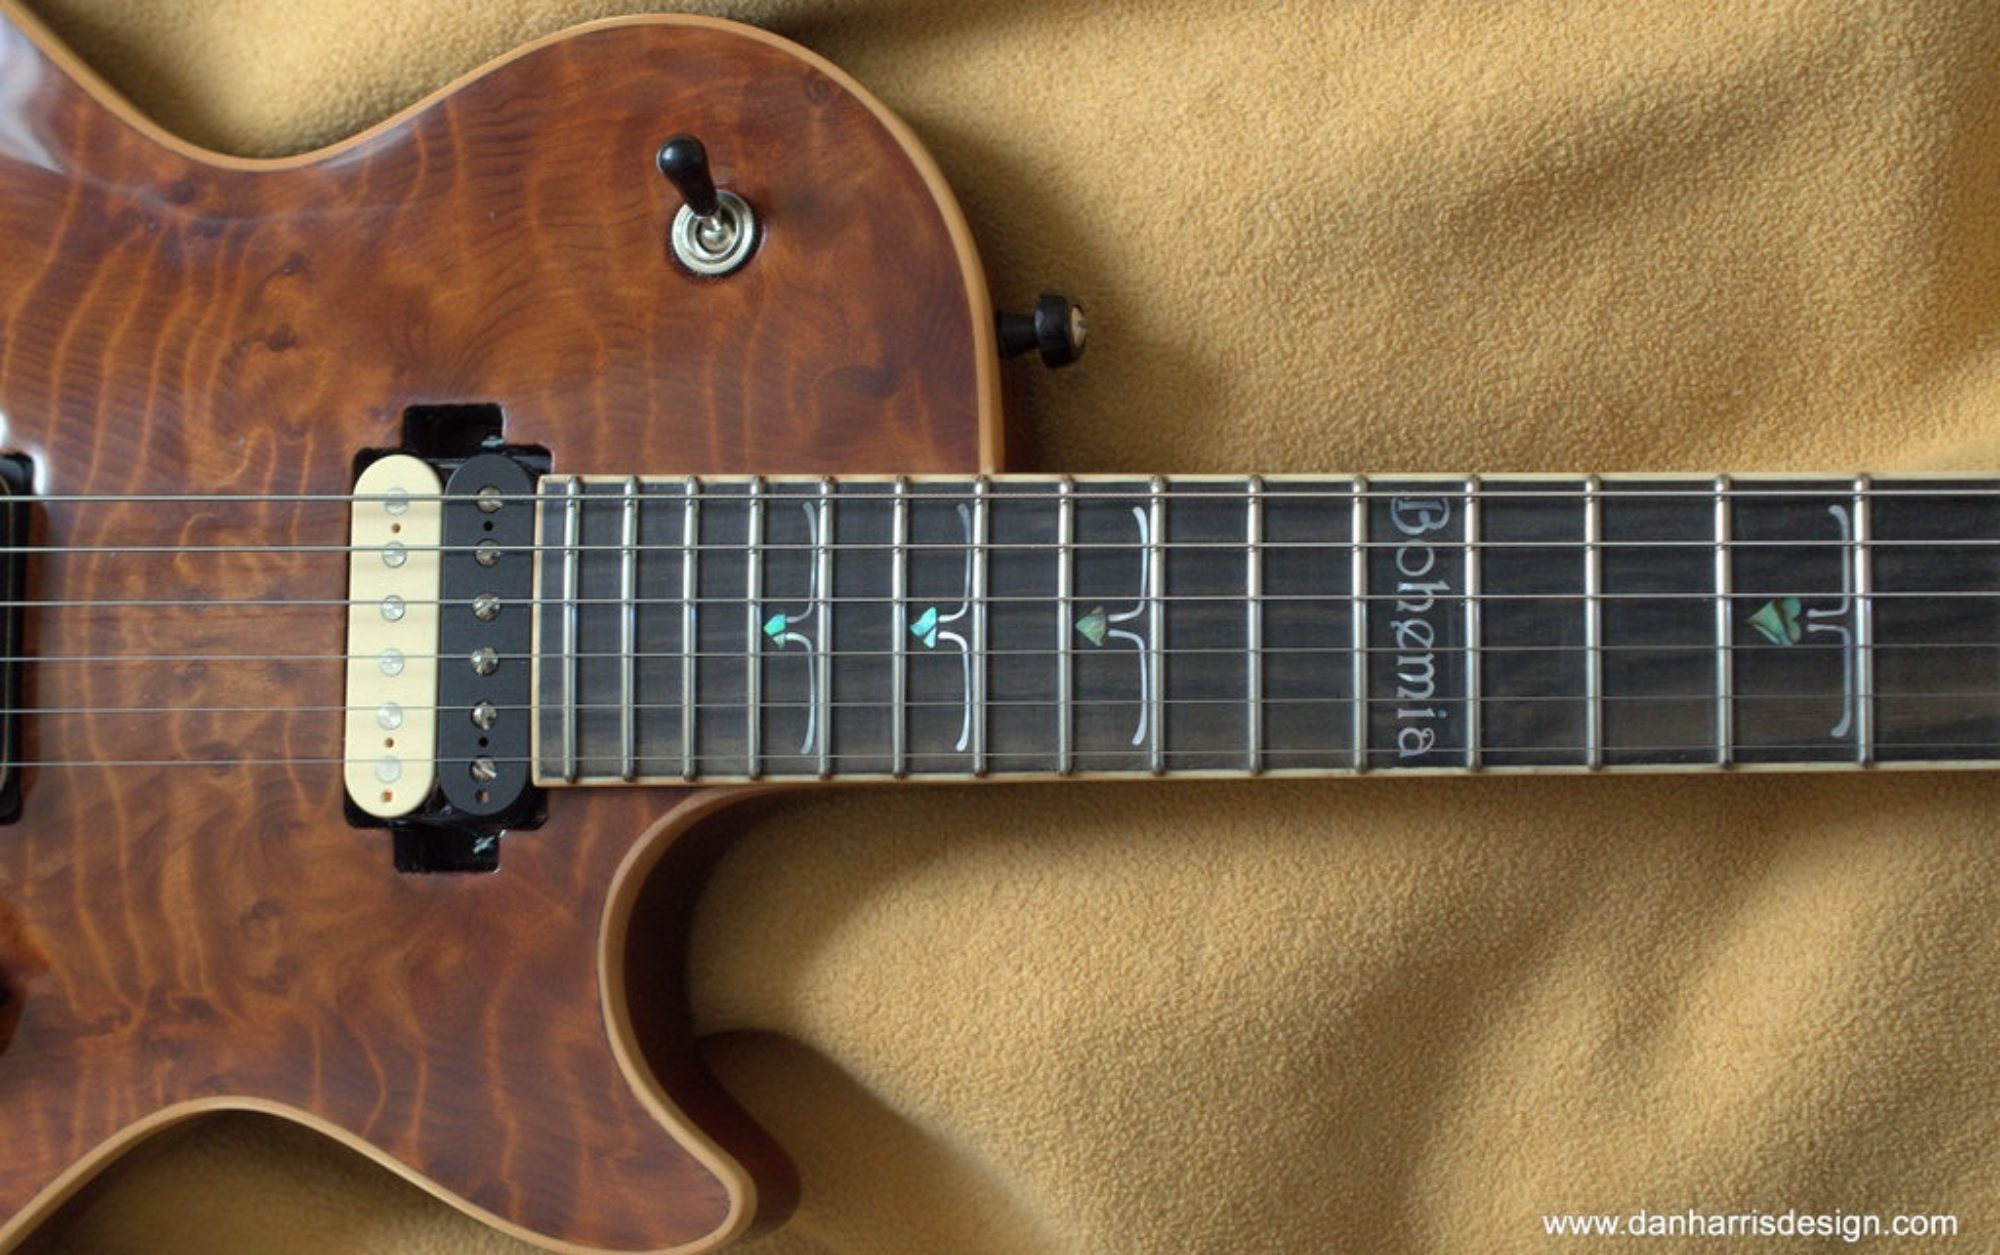
-shows pickups, made from same wood as the fretboar
I made each pickup a different size so the screws will hopefully align under the strings
Deriving inspiration from a youtube video, I put together a jig for applying a compound radius to my fretboard blanks. I found a video that uses a similar technique for roughing out the back of a guitar neck. Thinking about it I couldn’t see why one couldn’t specify different radii for each end of a fretboard. I ordered a planing cutterhead for the shaper on the Minimax and made the jig shown here:
…the fretboard is attached to the jig with double-stick tape
I can set the radius for each end independently by inserting the pivot bolt in different holes.
here are some examples- in red heart wood, kingwood, pink ivory, bocote, kingwood, spalted maple
I just took the homemade bridgeplate out of the bath. I’m using 1/8″ thick copper on this guitar, and I’ve given it the same treatment I gave to the pickguard on Driftwood 1. Once I fabricate the part I clean it off thoroughly and cover it with a salt solution. I place the part in a bowl filled with household ammonia and cover the whole thing with plastic. I leave the bowl out in the sun for a couple of hours and the copper develops a great patina not unlike what you might find on the copper sheeting hammered on to pilings at a pier.
Here’s what the bridgeplate looks like after exposure to salt and ammonia
I’ve just finished a YouTube video, I’m going to post the link here-
I’m learning all the time… I made a baseplate out of steel and find that it doesn’t seem to work. Seems like it has to be a non-ferrous material- I might try aluminum, although nickel-silver seems to be the standard.
I used Kingwood for the top of each bobbin. This wood is amazing. Relatively easy to work, but very strong. I used Ipe for the middle and base of each bobbin. We have some left from the deck we had put up. It is very plain, not much grain or variation in color, but it is one of the strongest woods around. I read that the original wood planking for Coney Island was Ipe, and it held up for over 25 years.


You must be logged in to post a comment.